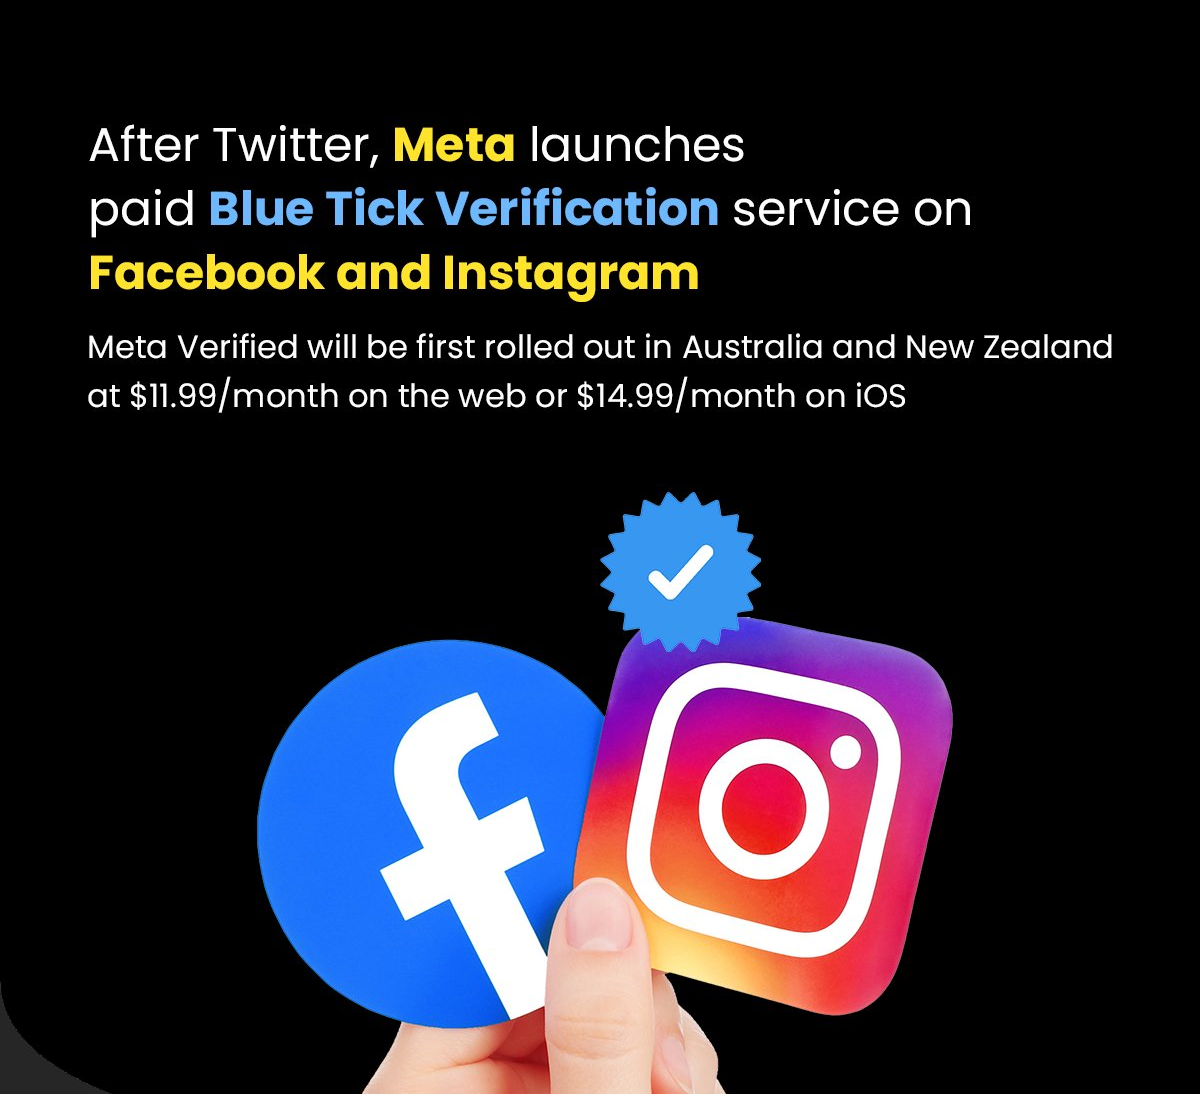
Social media platforms like Facebook and Instagram offer blue badge verification to accounts that are deemed authentic, notable, and meet certain eligibility requirements. The blue badge is a symbol of credibility and can help increase visibility and trust with followers. In this article, we will discuss the steps to obtain the blue badge verification for both Facebook and Instagram, including both free and paid options.
Table of Contents
ToggleFacebook Blue Badge Verification
Facebook offers two types of badges: gray and blue. The gray badge is for local businesses and organizations, while the blue badge is for public figures, media companies, and brands. Here are the steps to apply for the blue badge:
1. Ensure Your Facebook Page Meets Eligibility Requirements
Before applying for the blue badge, ensure that your Facebook Page represents a real person, business, or brand. Add a profile photo and cover photo to your Page and provide information about your Page, including a short bio and contact information. Have your Page up and running for at least two weeks with regular posts and engagement.
2. Go to the Page Verification Section of Your Settings
Go to the Settings section of your Page and click on “Page Verification.”
3. Choose “Verify This Page”
Choose “Verify this Page” and enter the required information, including your business or legal name and a government-issued ID.
4. Submit Your Application and Wait for Review
Click “Submit” and wait for Facebook to review your application. This process can take up to 45 days.
If your application is rejected, you can reapply after 30 days. The blue badge is free of charge.
Instagram Blue Badge Verification
Instagram’s blue badge verification is similar to Facebook’s, but the requirements are slightly different. Here are the steps to apply for the blue badge:
1. Ensure Your Instagram Account Meets Eligibility Requirements
Before applying for the blue badge, ensure that your Instagram account represents a real person, business, or brand. Add a profile photo and bio to your account, and link your Instagram account to your official website or other social media accounts. Ensure that your account is public and has a significant following, engagement, and media coverage.
2. Go to Your Account Settings
Go to your profile and tap on the three horizontal lines on the top right corner. Tap on “Settings” and then “Account.”
3. Tap on “Request Verification”
Tap on “Request Verification” and enter your full name, category, and government-issued ID.
4. Submit Your Application and Wait for Review
Click “Submit” and wait for Instagram to review your application. This process can take up to 30 days.
If your application is rejected, you can reapply after 30 days. The blue badge is free of charge.
Paid Options
If It’s No Available To You
Join our waitlist on Instagram or Facebook to stay updated. We will notify you when Meta Verified is available in your region if you are eligible. Joining the waitlist does not guarantee early access to Meta Verified.
What is the price to subscribe to Meta Verified for creators?
Meta Verified for creators is generally available in most regions for USD $11.99 when you subscribe from the web (Facebook only) and USD $14.99 when you subscribe within the app. You can begin the Meta Verified onboarding experience on Facebook or Instagram to see local pricing for your market.


